Natural Gas Alarm Installation Guide
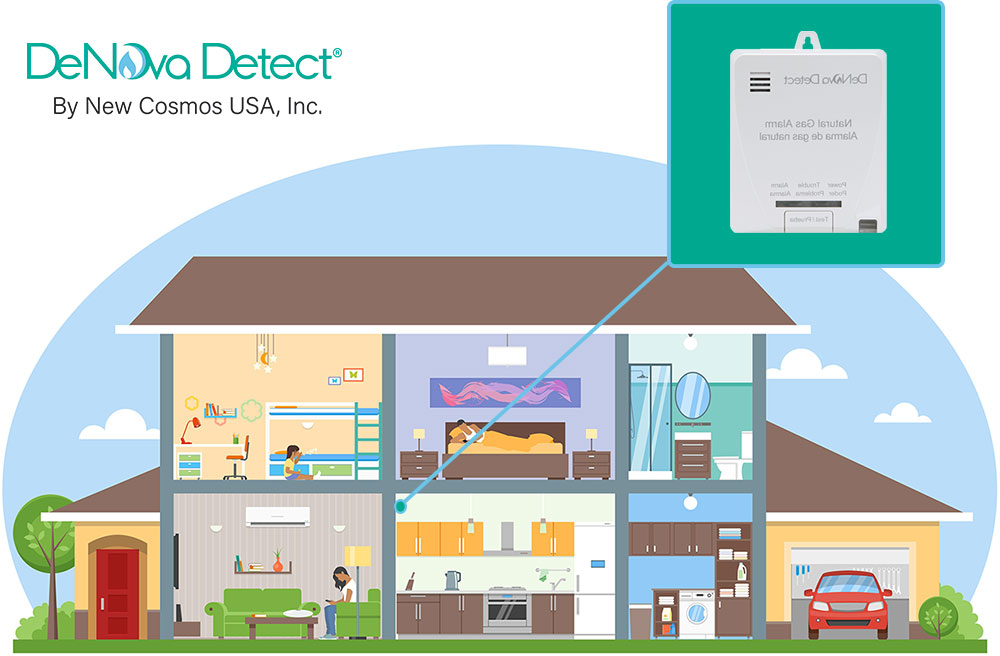
Natural gas alarms should be installed in every area of the home where a gas leak is most likely to occur or where a gas-fueled appliance is present. Common locations include kitchens with gas stoves or cooktops, laundry rooms with gas dryers, and furnace or utility areas where boilers and burners operate. Because natural gas is highly flammable and leaks can develop at appliance connections or along gas lines, early detection in these spaces is critical to home safety.
When choosing a location, it is vital to avoid "dead air" spaces. These are stagnant pockets-typically in the 90-degree corners where walls meet ceilings-where air circulation is restricted. Because gas sensors require active airflow to "drift" into the alarm's chamber, a detector placed too deep into a corner may fail to trigger even while gas accumulates elsewhere in the room. To ensure the fastest response, avoid mounting detectors within 4 inches of any corner or wall-to-ceiling junction.
Furthermore, gas can migrate through piping, walls, and ceilings, meaning a leak may be detected outside the room where it originates. For this reason, installing natural gas alarms in multiple rooms and on multiple levels of the home is strongly recommended. Homeowners should also consider placing a gas detector near bedrooms to ensure alerts are heard as early as possible, especially when doors are closed during sleep.
1. Alarm Placement & Why Distance from Appliances Matters
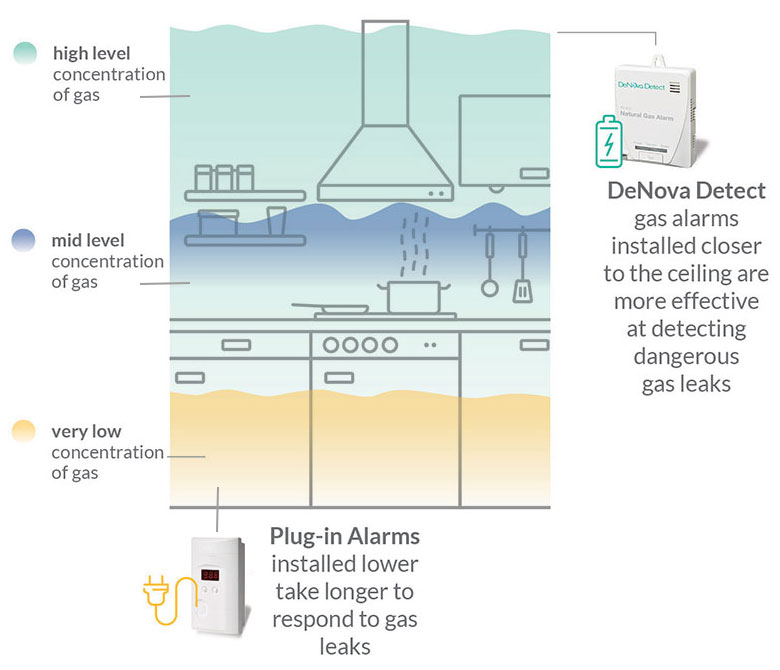
Although it is important to install Natural Gas alarms in rooms where gas appliances exist, it is recommended that gas detectors be placed as far away from these appliances as possible. The alarm should be installed between 3 and 10 feet away from a gas appliance and within 12 inches from the ceiling. The placement recommendations are intended to keep Natural Gas alarms at a reasonable distance from a gas source. This reduces the “unwanted” false alarms that can occur if a gas detector is placed directly next to a gas source. The recommended spacing from gas appliances helps reduce nuisance alarms and improves accuracy. Some appliances can release brief, harmless gas puffs during startup, and placing an alarm too close may cause unnecessary alerts.
2. How Many Natural Gas Alarms Should You Install?
- Install at least one natural gas alarm per level of the home.
- Install one alarm in every room with a gas-burning appliance.
- Larger homes or homes with multiple gas appliances may need 3 or more alarms.
- When in doubt, more coverage generally means earlier detection and more reaction time.
3. Where Not to Install a Natural Gas Alarm
- Do not install directly above a gas appliance or sources of water/humidity.
- Do not install in the peak of a vaulted or cathedral ceiling.
- Do not install next to windows, doors, or HVAC supply/return vents.
- Do not install in bathrooms or other damp / very humid areas.
- Do not install outdoors or in garages.
- Do not install in areas that are excessively dusty, dirty, or greasy.
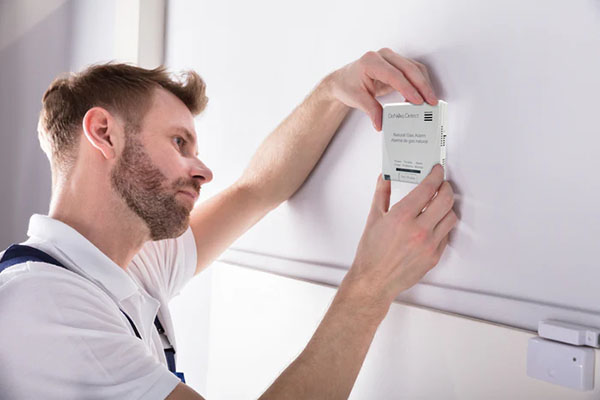
4. Wall Mounting vs. Ceiling Mounting
Most natural gas alarms should be wall-mounted, not ceiling-mounted. Mount the alarm 4 to 12 inches below the ceiling so rising gas reaches the sensor quickly while allowing proper airflow around the device.
5. Power Source Affects Placement
Battery-powered alarms allow ideal high-wall placement near the ceiling. Plug-in models are often limited by outlet height and may be installed too low to detect gas early. If your area experiences outages, consider how the alarm stays powered when electricity is unavailable.
| Room Type | Ideal Placement (Do) | Avoid This (Don't) |
|---|---|---|
| Kitchen | 3–10 ft away from stoves or ovens; installed within 12 inches of the ceiling. | Directly above or next to a stove where steam and grease can contaminate the sensor. |
| Utility / Laundry | Near gas-powered furnaces, water heaters, or dryers, ensuring clear airflow. | Behind appliances or in "dead air" corners where gas cannot circulate to the detector. |
| Bedrooms | High on the wall near the door to ensure the alarm is audible while sleeping. | Inside closets, behind curtains, or near windows that provide excessive drafting. |
| Basement | Near the ceiling, close to the bottom of the stairs to detect gas rising from lower levels. | In damp or humid areas, or near sumps and drains that may release moisture. |
6. Installation Height: A Simple Way to Think About It
Natural gas rises fast, so install the alarm where gas accumulates first. Avoid “eye-level” placement. Instead, think: high on the wall, near the ceiling.
Understanding the Difference: Natural Gas vs. Propane
The most critical factor in gas detector placement is the vapor density of the fuel being used. Natural gas (methane) is lighter than air, with a specific gravity of approximately 0.60. This means that in the event of a leak, natural gas will rise quickly and accumulate at the highest points of a room. To ensure early detection, natural gas alarms must be installed high on the wall—typically within 12 inches of the ceiling—where the gas will first collect.
In contrast, Propane (LP gas) is heavier than air, with a specific gravity of approximately 1.50. Rather than rising, leaking propane behaves like water; it sinks to the floor and pools in low-lying areas, basements, or crawl spaces. Because of these opposite behaviors, a detector placed at outlet height or near the floor might catch a propane leak quickly but could fail to alert you to a natural gas leak until the room is dangerously full. Always confirm which gas fuels your home to ensure your detectors are mounted at the scientifically correct height.
7. Test After Installation (and Monthly)
- Test the alarm immediately after installing it.
- Perform monthly test checks to confirm the alarm is operating.
- Do not test using open flames or by releasing gas into the room.
- Follow the manufacturer’s test instructions for your specific model.
8. What to Do if the Alarm Sounds
- Evacuate immediately and bring everyone outside.
- Do not turn lights on/off or use anything that could create a spark.
- Do not use phones or electronics inside the home.
- Once outside, call 9-1-1 or your gas utility and follow their instructions.
9. Replacement and End-of-Life Guidance
Natural gas alarms have a defined service life. Replace the alarm at the manufacturer’s recommended interval and do not continue using alarms that are expired or have reached end-of-life.
10. Multi-Level Home Tips
- Gas can migrate through walls, floors, and shared spaces.
- Consider adding coverage on upper floors if gas appliances are located below.
- Multiple detectors provide better protection and earlier warning across the home.
Recommended gas detector placement:
- Within 12 inches of the ceiling.
- 3–10 feet from gas appliances.
- At least 5 feet from cooking appliances or range hoods.
- In an open area where airflow is not blocked by curtains, fans, or fixtures.
NOT Recommended:
- In cathedral ceiling peaks.
- Near water sources (sinks, dishwashers, showers).
- Next to doors, windows, ventilation fans, or HVAC ducts.
- In damp, humid, dusty, or dirty areas.
Shop Natural Gas Detectors:
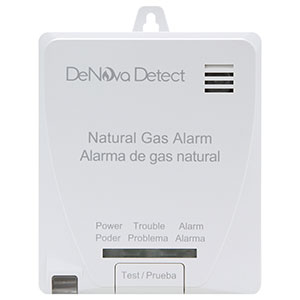
DeNova Detect 6-Year Battery-Powered Natural Gas Alarm
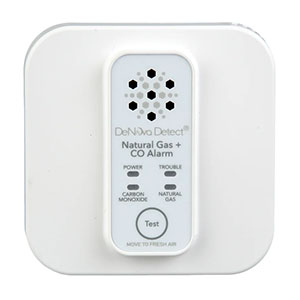
DeNova Detect 10-Year Battery-Powered Carbon Monoxide + Natural Gas Alarm
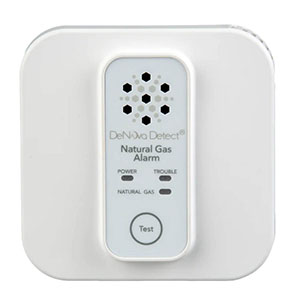
DeNova Detect 10-Year Battery-Powered Natural Gas Alarm